How to Lay Geotextiles
Installing geotextiles properly is essential for long-lasting performance in construction, landscaping, and drainage projects. Whether you’re stabilizing soil, preventing erosion, or improving filtration, learning how to lay geotextiles the right way ensures the success of your project.
Why Knowing How to Lay Geotextiles Matters
Geotextiles are synthetic fabrics used to separate, filter, reinforce, protect, or drain soil. If not installed correctly, they can tear, shift, or fail, leading to costly repairs. That’s why understanding how to lay geotextiles is vital for contractors, landscapers, and even DIY enthusiasts.
Tools and Materials You’ll Need
Before diving into how to lay geotextiles, prepare the following:
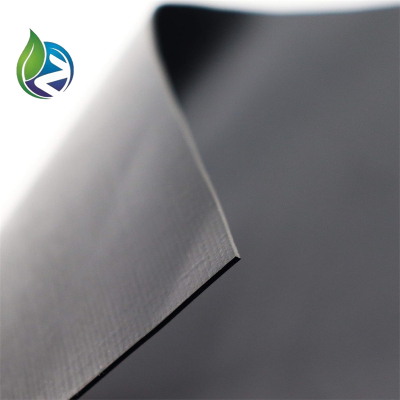
Geotextile fabric (woven or non-woven)
Utility knife or fabric scissors
Ground staples or landscape pins
Shovel, rake, and compactor
Measuring tape or wheel
Gloves and safety gear
Step 1: Assess and Prepare the Site
The first step in understanding how to lay geotextiles is thorough site preparation. Remove vegetation, rocks, and debris. Ensure the soil is compacted and level to provide a solid base for the geotextile fabric.
Step 2: Measure and Cut the Fabric
Measure the area and cut the geotextile to the required size, allowing extra fabric to overlap at edges. Accurate cutting is key in how to lay geotextiles without waste or gaps.
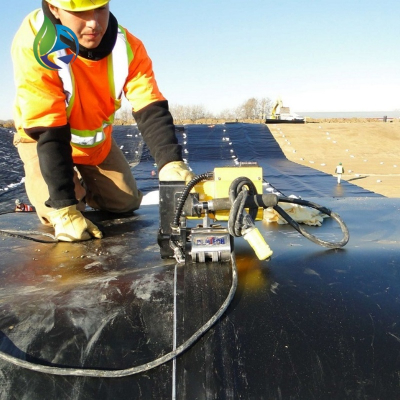
Step 3: Lay the Geotextile Fabric Smoothly
Unroll the fabric in the direction of the work area, ensuring there are no wrinkles or folds. Wrinkles can compromise stability and drainage, so this step is crucial when learning how to lay geotextiles properly.
Step 4: Overlap the Edges Correctly
Always overlap adjoining pieces by 12–18 inches (30–45 cm). This prevents soil migration between seams—a vital step in mastering how to lay geotextiles for long-term durability.
Step 5: Secure the Fabric in Place
Use landscape staples or U-pins to fix the fabric every 1–3 feet along edges and seams. On slopes or high-traffic areas, use more pins to prevent shifting. Proper anchoring is essential in how to lay geotextiles effectively.
Step 6: Add the Covering Layer
Depending on your project, cover the geotextile with gravel, sand, soil, or another base material. Spread the covering evenly and compact it as needed. This final step seals your understanding of how to lay geotextiles with practical, on-site success.
Tips for Success
Use non-woven geotextiles for drainage and filtration.
Choose woven geotextiles for stabilization and separation.
Always check manufacturer guidelines for specific installation instructions.
Never stretch the fabric; keep it taut but relaxed.
Final Thoughts
Knowing how to lay geotextiles properly can save you time, money, and headaches in the long run. With the right preparation, tools, and techniques, you can install geotextile fabric that will perform for years to come. Whether for driveways, retaining walls, or drainage systems, correct installation is the key to maximizing performance and longevity.