Geomembrane in tailings pond specific laying range
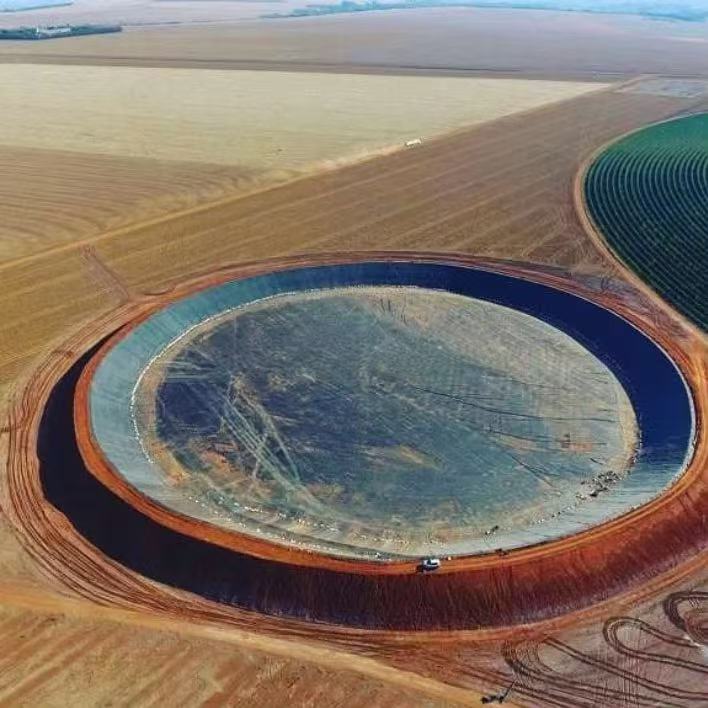
If you run a tailings pond, the two biggest things you need to focus on are stopping tailings water from leaking and keeping the area around it safe. Geomembrane is really helpful for this, but you can’t just lay it the same way all over the pond. Different parts of the pond have different soil, so they need different ways to stop seepage. That means you have to change how you lay the geomembrane depending on what each spot needs. Let’s talk about where to lay it in each key part of the tailings pond and how to do it right.
1. Tailings pond bottom: full coverage, fit the terrain
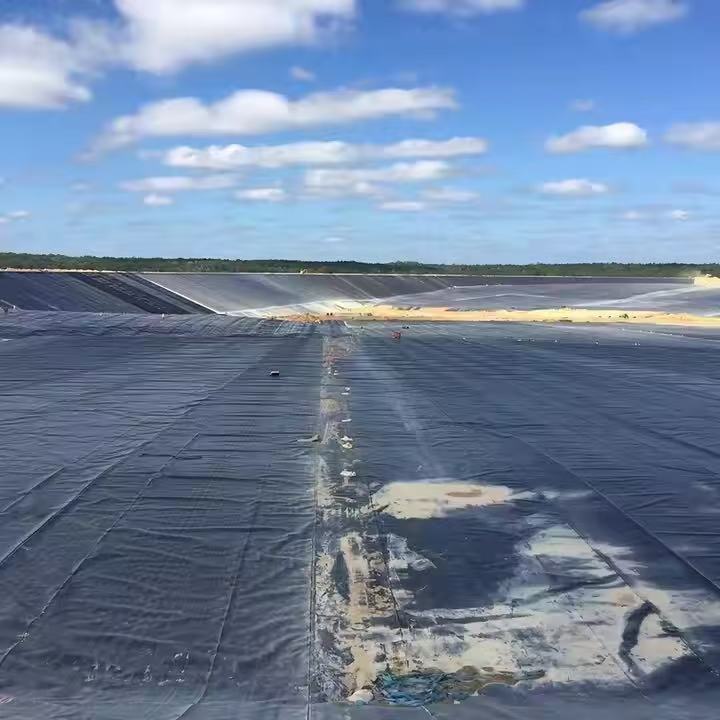
Most tailings sit on the pond bottom for a long time. The bottom is always under pressure from the heavy tailings above, so water can easily seep through. That’s why geomembrane here has to cover every single part—no spots left out. This includes the whole flat middle area, the gentle slope that goes up to the dam, and those “corner spots” where the bottom meets the base of nearby mountains. A lot of people forget these corners, but they usually have bumpy ground or hidden gaps. If you don’t lay geomembrane there, leaks will almost definitely start once more tailings pile up.
Before you lay the geomembrane, you need to get the pond bottom ready first. Start by clearing out all the junk—rocks, tree roots, leftover building stuff. Even small sharp things can poke holes in the membrane once you put pressure on it. Then, level the surface: fill in shallow holes with packed soil and smooth out any bumps. For deeper holes (more than 30 centimeters deep), it’s a good idea to put down a layer of geotextile first, then the geomembrane. Sometimes you even need an extra layer of geomembrane on top to make that area stronger. This extra step keeps the material from stretching too much or breaking under the weight of the tailings later.
When picking which geomembrane to use here, hdpe geomembrane liner is a great choice.HDPE—oh right, that’s high-density polyethylene—works really well for stopping seepage. You know why? Its structure is super tight, so even tiny particles and chemicals can’t get through. And it holds up pretty well against the tough stuff in tailings water, like acids or alkalis. Even when it’s wet for ages, it doesn’t fall apart. Plus, it’s flexible enough to fit those little bumps on the pond bottom without cracking. Stiffer materials? They break so easily in comparison—it’s not even close.
Laying geomembrane on the pond bottom basically makes a tight, unbreakable barrier that keeps water from seeping down into the ground. Let’s be real, tailings water isn’t clean—it’s got heavy metals, like lead or cadmium, and all sorts of harmful chemicals from mining. If that stuff gets into groundwater? It’ll ruin local wells and rivers in no time. Suddenly, the water nearby isn’t safe for people to use, and it messes up the plants and animals too. So covering the whole bottom the right way? It’s not just a “good idea”—it’s something you have to do if you want the pond to run safely and not wreck the environment.
2. Surrounding dam body: from dam foot to near dam crest, layered laying
The dam is the main structure that holds back thousands of tons of tailings and tailings water. How well it stops seepage directly affects how safe the whole pond is. That’s why the inner side of the dam (the side that faces the tailings) needs full geomembrane coverage. Start laying it at the “toe slab”—that’s the concrete or packed soil base where the dam meets the geomembrane on the pond bottom. Then go up to about 0.5-1 meter below the top of the dam (that’s the dam crest). Don’t lay it all the way to the top because the crest is out in the open. Rain, wind, and temperature changes can damage it. Rainwater can wear away the edge of the geomembrane, making it peel off the dam and ruining its ability to stop seepage.
If the dam has graded platforms—those wide, flat parts built into the slope to stop erosion—the inner side of these platforms needs geomembrane too. If you skip them, there will be gaps in the anti-seepage system. Over time, tailings water will seep through those gaps into the dam. That weakens the dam: water makes the soil inside heavier and less stable. Small cracks can form and get bigger. So you have to make sure the geomembrane on the platform connects tightly to the geomembrane on the slopes above and below. No gaps between them.
For steeper dams (where the slope is steeper than 1:2.5), use the “staggered joint laying” method. This just means you don’t line up the overlapping joints of adjacent geomembrane sheets in a straight line. If all the joints are in one line, that area gets weak and leaks are more likely. Staggering them spreads out the pressure and lowers that risk. Also, keep the joints away from the inflection points of the slope—those are spots where the slope changes angle a little. When the dam settles, those points have more pressure, and joints there will crack easily.
After laying the geomembrane, put a layer of non-woven geotextile on top. This protective layer acts as a buffer between the geomembrane and the dam’s soil. It stops soil particles from rubbing against the membrane and wearing it down over time. It also filters out fine dirt that could clog the membrane’s surface or get into small gaps.
In dam laying projects, hdpe geomembrane liner is used a lot. HDPE has high tensile strength—it can stretch a little without breaking. That’s good because dams settle or shift a bit over time, and the membrane needs to handle that. It also doesn’t get damaged by tailings water, which matters because the membrane is always touching the water. Unlike some other materials, it doesn’t break down fast. So it keeps stopping seepage for decades.
This geomembrane is key to stopping tailings water from seeping through the dam’s tiny holes. Without it, water would slowly seep into the dam’s soil. That makes the soil less able to hold together. Over time, that leads to big problems—like when water makes small tunnels through the soil, or even landslides that can make the dam collapse. Laying geomembrane in layers the right way keeps the dam stable and safe for a long time.
3. Connection area between initial dam and later accumulation dam: seal tight, no gaps
Many big tailings ponds use two dams: an “initial dam” built at the start to hold the first batch of tailings, and a “later accumulation dam” that’s built little by little as more tailings are added. The spot where these two dams meet is a weak point in the anti-seepage system. The initial dam is usually made of concrete or packed rock, while the accumulation dam is made of packed tailings. They settle at different rates and have different structures. So gaps often form between them as the pond is used. Those gaps are perfect for tailings water to seep through, so geomembrane here needs extra care.
The first step to laying geomembrane here is to make a “transition zone” on top of the initial dam. This zone is a strip of geomembrane 2-3 meters wide, laid flat on the dam’s top surface. It acts as a bridge between the geomembrane on the initial dam and the one on the accumulation dam. It makes the connection area bigger and improves the sealing. Then, when you lay the geomembrane for the accumulation dam, overlap it over this transition zone. The overlap has to be at least 1 meter wide. If it’s narrower than 80 centimeters, the joint won’t be strong enough. As the accumulation dam settles, the joint will start to come apart.
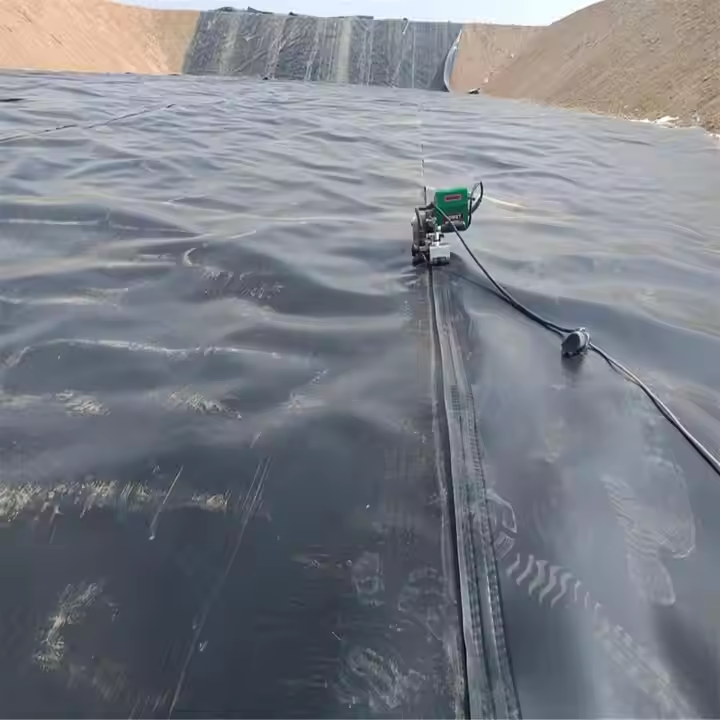
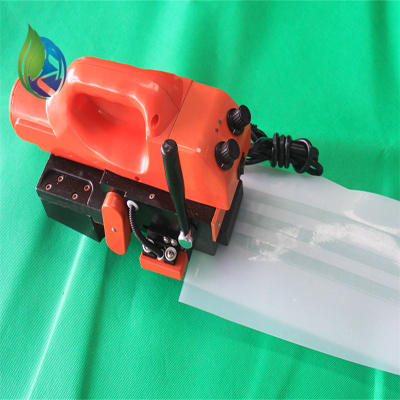
After overlapping the two geomembrane sheets, you need to seal the joint properly. The two most common ways are hot air welding and glue bonding. Hot air welding uses a special tool that blows hot air (around 300°C) on the overlapping edges. This melts the HDPE a little, so the two sheets stick together. Glue bonding uses a strong, chemical-resistant glue made just for geomembranes. No matter which method you use, check the joint carefully after sealing. Look for air bubbles, loose edges, or spots where the bonding is uneven. Then do a pressure test: blow a little air into the joint and see if it holds. If it leaks, seal it again.
Since the initial dam and accumulation dam settle at different rates—the accumulation dam settles more as tailings are added—the geomembrane needs to be flexible enough to handle that movement. That’s where hdpe geomembrane liner helps. HDPE can stretch up to 10% of its original length without tearing. This flexibility lets it adjust to the small gaps that form between the two dams. It keeps the anti-seepage system connected and whole. Stiffer materials would crack or split under this kind of stress.
Strengthening the geomembrane in this connection area is all about fixing possible leak risks before they become real problems. How well this spot works affects the whole pond’s anti-seepage system. If water starts leaking here, it can spread to other parts of the dam and cause a lot of damage. Get the laying and sealing right, and you get rid of one of the biggest safety risks in the tailings pond.
4. Around flood discharge and drainage facilities: wrap around the facilities
Flood discharge and drainage facilities are essential for keeping the pond running smoothly. These include things like flood culverts (pipes that carry extra rainwater out of the pond), drainage blind ditches (underground channels that collect seepage), and leachate collection pipes (for taking out contaminated water). But the spot where these facilities meet the surrounding geomembrane is a common place for leaks. These facilities have irregular shapes, so the gaps between their walls and the geomembrane are hard to seal. If you don’t seal them well, tailings water will seep out through those gaps. This messes up how the facilities work—like clogging pipes—and pollutes the soil around the pond. So you need to use a “wrapping” method to lay geomembrane around these parts.
First, clean the outer surface of the facility. Wipe off dirt, oil, or leftover concrete so the geomembrane can stick tightly. Then cut the geomembrane into sheets big enough to wrap around the facility with some extra overlap. Wrap the sheet around the facility’s outer wall, making sure it’s smooth and has no wrinkles—wrinkles create gaps where water can seep. The wrapping should go 0.3-0.5 meters above the top of the facility. This stops tailings water from overflowing the top and seeping into the gap between the facility and the membrane. For corners or curved parts of the facility, cut the geomembrane into smaller, more flexible pieces and glue them together to get a tight fit.
Next, connect this wrapped geomembrane to the geomembrane on the pond bottom and the dam. The key here is to use “rounded transitions” instead of sharp right angles. If you fold the geomembrane into a right angle, all the pressure will concentrate there. Over time, as the facility shifts a little or water pressure changes, the membrane will wear thin and tear. Rounded transitions (with a radius of at least 10 centimeters) spread out the pressure, keeping the membrane intact longer.
If the facility has interfaces (where two pipes connect) or flanges (metal rings used to join parts), you need an extra step: seal those parts first with a special geomembrane sealant. These spots often have tiny gaps between metal or plastic parts. Even the best geomembrane wrapping can’t cover them completely. The sealant—usually made of rubber or polyurethane—fills in those gaps, making a water-tight barrier. Once the sealant dries, cover the area with a small piece of geomembrane for extra protection. Make sure the sealant works with the geomembrane material—some harsh chemicals in sealants can break down certain types of membrane.
For this detailed wrapping work, hdpe geomembrane liner is a common choice. HDPE sticks well to most sealants, so there’s no risk of the membrane peeling away from the sealed areas. It also sticks tightly to the smooth surface of metal or plastic facility walls, leaving no gaps. And since it’s resistant to both tailings water and leachate (which can be very corrosive), it keeps the seal tight for a long time—you won’t have to replace it every few years like cheaper materials.
Wrapping geomembrane around these facilities blocks leaks between the facilities and the main geomembrane system. These facilities are critical to the pond’s safety: if water seeps into a flood culvert, it can cause rust or mineral buildup, clogging the pipe. That stops extra rainwater from draining out, which increases the risk of the pond overflowing. Wrapping them well keeps the facilities working properly and stops small leaks from turning into big environmental problems.
5. Flood interception ditch around the reservoir area: cover ditch bottom and inner walls
The flood interception ditch is easy to overlook, but it’s an important part of the tailings pond system. It’s a long, narrow ditch built around the edge of the pond, usually at the base of nearby hills or mountains. Its job is to catch rainwater that runs off the mountains. If that rainwater just flows straight into the pond? It’ll push the tailings water level up, no question. That adds more pressure on the dam, and it makes overflow way more likely too. And overflow? It can cause pollution on a big scale—so the ditch needs geomembrane for two reasons, really. First, to stop rainwater from seeping into the soil around the pond. Second, to keep the ditch itself from washing away when it rains hard.
When it comes to laying geomembrane in the flood interception ditch, it’s pretty simple: cover the whole ditch bottom, plus both inner walls. Start at the ditch’s beginning—the part closest to the mountain—and go all the way to the end, where it drains into some other waterway. That includes the tricky parts, too: the turns (you know, where the ditch changes direction) and the drop sections (the spots where it slopes down sharp to make water flow faster). These areas take a beating from fast-moving rainwater. If you don’t lay the geomembrane right here? The water will scrub against it, either tearing it or making it peel off the ditch walls. So you’ve gotta make sure the membrane is pressed tight against the ditch surface, and that the joints between the sheets are sealed—either with glue or welding, doesn’t matter which as long as it’s done right.
When you’re laying the geomembrane sheets, line up the overlapping joints with the way the water flows. If you put the joints against the flow? The fast water will hit the edge of the overlap, push it up, and over time, the sheets will start to separate. That leaves gaps, and water’ll seep through those for sure. But if you align the joints with the flow? The water just glides over the overlap, no pressure on the edge, so the joint stays sealed. And the overlap here needs to be at least 50 centimeters wide—wider than you’d usually do—’cause when it rains hard, the water flow gets really strong.
Also, leave an overlap of more than half a meter between the geomembrane in the ditch and the stuff in the main pond. This overlap is important—if any rainwater seeps through the ditch membrane’s joints, it’ll get caught by the pond’s membrane instead of soaking into the surrounding soil. It also makes the connection between the two membrane systems stronger—you can weld or glue the overlapping parts together. That creates a continuous anti-seepage barrier around the whole pond.
When choosing geomembrane for the ditch, hdpe geomembrane liner is a great option. HDPE is tough enough to resist wear from fast-moving rainwater and the small stones or dirt carried in the water. Unlike thin membranes, it won’t get punctured by sharp rocks that wash into the ditch. It also stops seepage really well, so rainwater in the ditch won’t seep into the soil and contaminate the groundwater near the pond. And since it’s UV-resistant, it holds up well when exposed to sunlight for a long time—you don’t have to worry about it breaking down from the sun.
Laying geomembrane in the flood interception ditch keeps the ditch water from seeping into the surrounding soil and prevents the ditch walls from eroding. This protects the pond’s edge: eroded ditch walls can collapse, sending dirt and rocks into the pond and messing up the tailings storage. It also keeps extra rainwater from adding pressure to the pond, which is key for keeping the water level safe. All in all, it’s a small part of the system, but it’s really important for the pond’s overall safety and anti-seepage.

