How to Drain Water and Prevent Waterlogging with Hay Covers
If you’ve ever stored dry straw outside—whether it’s for feeding livestock, bedding, or just regular farm use—you know the biggest pain. Once you throw Straw and hay covers over the pile, rainwater or melted snow just sits there on top, pooling up. After a bit, that water soaks right through the cover, wets the straw, and before you know it, it’s moldy or even rotted. Wasting good straw isn’t just expensive—it also means you might end up short when you really need it. The fix here isn’t just buying a nicer cover, though. It’s knowing how to stack the straw and lay the cover so water drains right, stopping waterlogging before it even starts. Let’s go over the practical steps—no fancy tools needed, just stuff you probably already have lying around.
1. Shape the Straw Pile First: Slopes Are Your Best Friend for Drainage
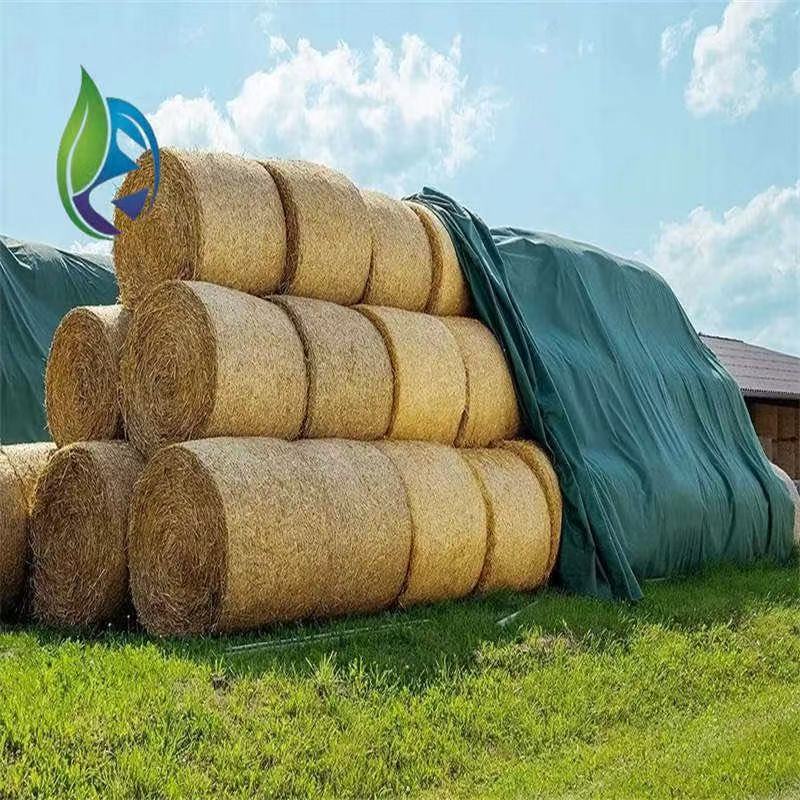
Before you even touch Straw and hay covers, the way you pile the straw matters more than you might think. A straw pile with a flat top? Total nightmare for drainage. Water just sits there like a puddle on a kitchen table, and sooner or later it soaks all the way through. Instead, you gotta build the pile with a slight slope—enough so water runs off on its own.
For small piles, like ones under a meter tall, aim for a slope of 15 to 20 degrees. That means the center should be 10-15cm higher than the edges. Easy to do: just pile a little more straw in the middle as you go, then pat the sides gently to make a smooth slope. No need to get it perfect—just enough so water doesn’t sit there pooling. For bigger piles, over 2 meters tall, make the slope steeper, like 25 degrees. Here’s a trick I’ve used: grab a long stick, hold one end at the top center of the pile, the other at the edge. If the stick tilts down clearly? You’re good to go.
Why does this work? Even the best Straw and hay covers can’t drain water if the surface under ’em is flat. The slope gives water a path to run off the sides, instead of just sitting and seeping in. I’ve watched farmers skip this step, then scratch their heads wondering why their straw’s wet. Fix the pile shape, and you fix half the problem right away.
2. Lay Straw and hay covers the Right Way: Leave Overhangs and Avoid Tight Stretching
Once your pile’s sloped, it’s time to put on the Straw and hay covers—and how you lay ’em affects drainage too. A common mistake? Pulling the cover way too tight over the pile. If you stretch it flat, it’ll follow the pile’s shape but won’t have any give. Then water can still pool in little dips you might not even see. Instead, leave the cover a little loose—just enough so it sags a bit with the slope, but not so loose that wind catches it.
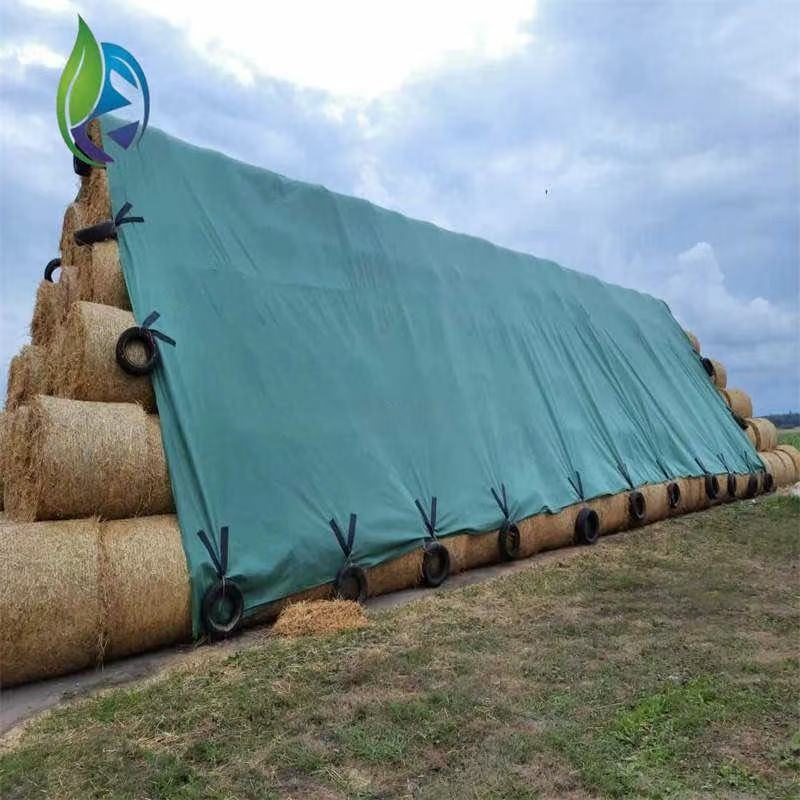
Another thing you’ve gotta do: leave an overhang at the edges. Cut your Straw and hay covers so they stick out 10-15cm past the pile. That way, when water runs down the slope, it drips off the cover onto the ground—not onto the sides of the straw. If the cover ends right at the pile’s edge, water trickles down the straw itself and soaks the bottom layers. For extra protection, fold the overhang under a little. That makes a small “lip” that stops water from creeping back under the cover.
If you need multiple pieces of Straw and hay covers for a big pile—like two or three panels—overlap ’em by at least 20cm. And here’s a key tip: overlap them in the direction the water flows. Say your pile slopes north to south? Lay the northern cover first, then put the southern one on top. That way, water runs down the southern cover onto the northern one, then off the edge—no gaps for water to seep through the seams.
3. Add External Drainage: Keep Water Away from the Pile’s Base
Even with a sloped pile and well-laid Straw and hay covers, water can still pile up around the bottom of the pile. Especially if you’re storing straw in a low spot. If the ground around the pile stays wet, it seeps up into the bottom straw layers, rotting ’em from below. Fixing this just means adding simple drainage around the pile.
For most farms, a shallow trench works great. Dig one 10-15cm deep and 20cm wide around the outside of the pile. Tilt the trench a little away from the pile—so water flows into it and away from the base. No need to line it with anything; just pack the dirt down a bit so it doesn’t collapse. After it rains, check the trench. If it’s holding water, grab a rake and clear out any leaves or straw that’s blocking it.
If you’re on concrete or a hard surface—like a barn floor—use bricks or cinder blocks to lift the pile a little. Stack two bricks under each corner (or every meter for long piles) to raise it 5-8cm off the ground. This lets air circulate under the pile, and water runs off the concrete instead of pooling under the straw. Pair this with Straw and hay covers, and you stop waterlogging from both top and bottom.
4. Check and Adjust Regularly: Fix Small Issues Before They Get Big
Straw and hay covers aren’t a “set it and forget it” thing. You gotta check ’em every few days, especially after rain or snow. Even the best setup can shift—wind might blow the cover, a branch could fall and make a dip, or the straw pile might settle, changing the slope.
After rain, walk around the pile and look for water pooling on the Straw and hay covers. If you see a puddle, don’t just leave it. Grab a broom or rake and gently push the water toward the edge. Be careful not to poke the cover—you don’t want a hole—but a soft push is usually enough to get the water moving. If the cover slipped and the overhang’s gone? Pull it back into place and weigh down the edges (we’ll talk about that next).
For snow, wait till it stops falling, then use a shovel to brush off the top of the Straw and hay covers. Heavy snow flattens the pile’s slope, making little pockets where melted snow pools. Brush the snow toward the edges, and make sure the overhangs are still there so melted water runs off. If the snow’s too heavy to brush, use a long pole to tap the cover gently—knocks off loose snow without damaging the fabric.
5. Weigh Down Edges: Stop Wind from Ruining Your Drainage Setup
Wind’s one of the biggest problems for good drainage with Straw and hay covers. A strong gust can blow the cover up, shift the overhang, or even make a dip where water collects. The fix is simple: weigh down the edges so the cover stays put.
What works best? Depends on what you have handy. Sandbags are great—put one every meter along the edge. They’re heavy enough to hold the cover down, and they won’t damage the fabric. No sandbags? Use bricks, big rocks, or even extra straw bales (yeah, that works too). Just make sure whatever you use is on the overhang, not the pile itself. If you put weight on the pile, you’ll flatten the slope.
For circular straw piles, take a length of rope and loop it around the cover’s edge. Tie weights to the rope every 80cm—keeps the whole edge tight, so wind can’t get under. I’ve seen farmers use old tires too—cut ’em in half and lay ’em over the edge. Durable, and holds up well in rain or snow.
Final Thoughts: Keep It Simple, Stay Consistent
Draining water and stopping waterlogging with Straw and hay covers isn’t about complicated systems. It’s about small, consistent steps: shape the pile right, lay the cover with overhangs, add basic drainage, check regularly, and weigh down edges. These steps take a little extra time at the start, but they’ll keep you from wasting good straw later.
Next time you cover a straw pile, remember: water follows the path of least resistance. Your job is to give it a path off the cover and away from the pile—so your straw stays dry, usable, and ready when you need it. Whether it’s a small pile for backyard chickens or a big one for cattle, these tips work. Just take it one step at a time, and you’ll skip the frustration of moldy, wet straw.

