Geobag Lapping Techniques Between Layers for Different Slopes
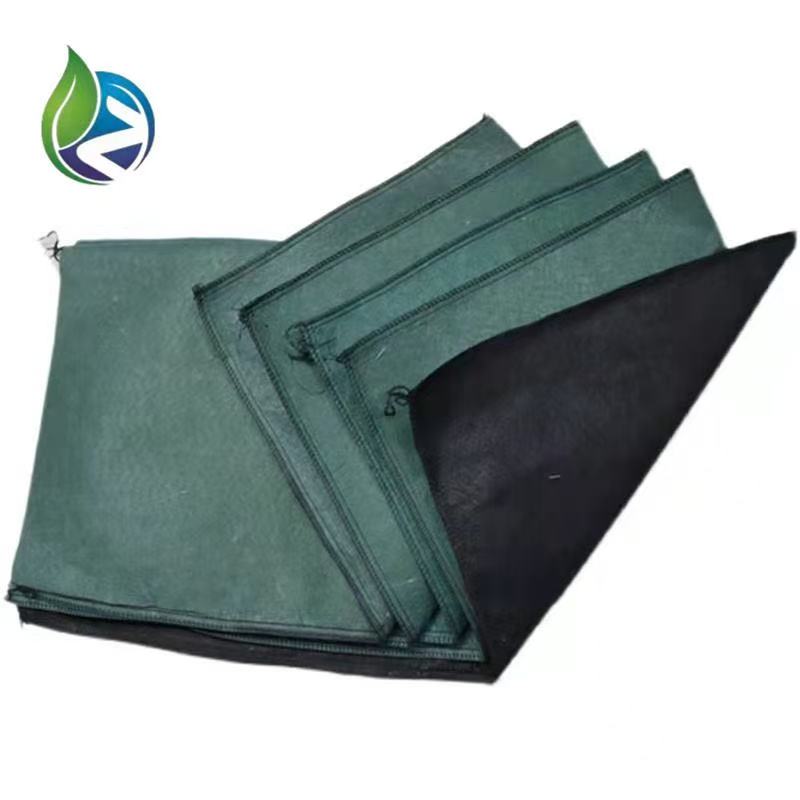
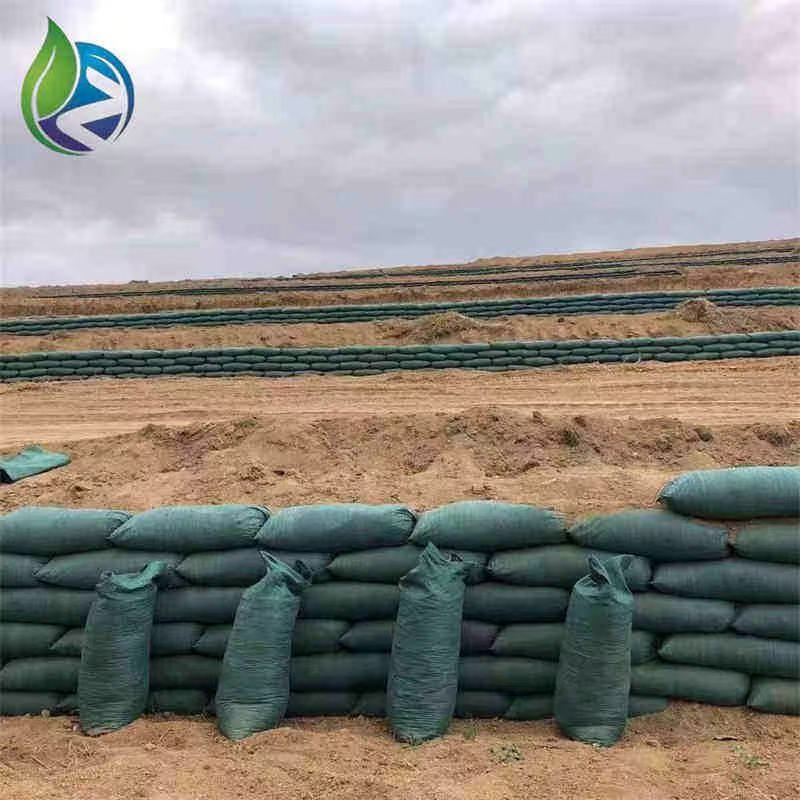
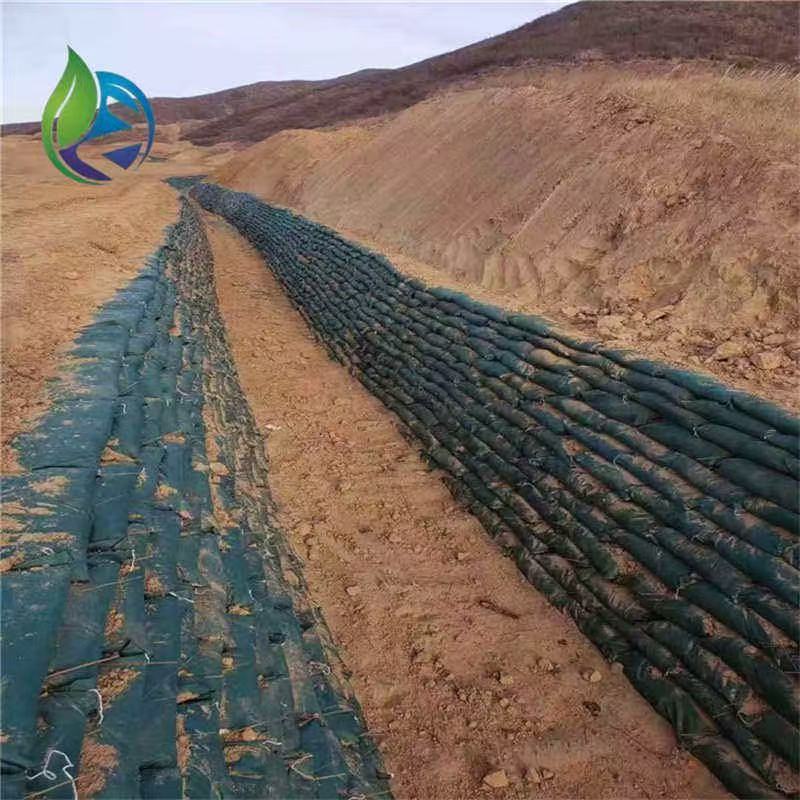
If you’ve ever worked on slope stabilization or riverbank protection, you know that Geobag Installation isn’t just about filling bags and stacking them. The real challenge comes when dealing with different slopes—what works for a gentle 10-degree slope won’t cut it for a steep 45-degree one. And one of the most critical parts of getting Geobag Installation right? The lapping between layers. Mess up the lap, and you risk gaps, sliding, or even total structure failure down the line.
I’ve seen too many projects go wrong because someone skipped over the slope-specific lapping details. So today, we’re breaking down exactly how to handle layer laps for three common slope types: gentle slopes (under 20 degrees), moderate slopes (20-35 degrees), and steep slopes (over 35 degrees). Each has its own tricks, and by the end, you’ll know how to adjust your Geobag Installation to keep the structure solid, no matter how steep the ground gets.
1. Lapping Techniques for Gentle Slopes (Under 20 Degrees)
Gentle slopes might feel like the easiest to work with for Geobag Installation, but don’t let that fool you—even small mistakes in lapping can lead to problems later. On slopes this flat, water runoff is slower, so you’re less worried about immediate sliding, but you still need laps that prevent water from seeping between layers and weakening the base over time.
First, let’s talk about lap width. For slopes under 20 degrees, a 15-20 centimeter overlap between layers is usually enough. But here’s the thing: you can’t just slap the top layer on top of the bottom one and call it a day. You need to make sure the lap is even across the entire layer. I’ve seen guys rush this part, leaving some spots with only 5 centimeters of overlap, and sure enough, six months later, those spots started to separate. To avoid that, use a measuring tape every few feet to check the lap width—simple, but it saves headaches.
Another tip for gentle slopes: stagger the laps. If you line up all the overlaps in the same spot every layer, you create a weak line where water can collect. Instead, shift each layer’s lap by half a bag width. So if the first layer’s lap is on the left side of a bag, the next layer’s lap should be in the middle, and the one after that on the right. This spreads out the stress and keeps water from pooling. It takes a little extra time, but it’s worth it for a durable Geobag Installation.
You also want to press down the lap area firmly. On gentle slopes, the weight of the top layers might not be enough to compress the lap on its own. Grab a hand tamper and go over the overlapping parts a few times. This helps the geobags stick together (especially if you’re using woven geobags) and stops small gaps from forming. And don’t forget to check the lap after compaction—sometimes the tamper can shift the bags, so you might need to adjust them back into place. For gentle slopes, these small steps make sure your Geobag Installation stays tight for years.
2. Lapping Techniques for Moderate Slopes (20-35 Degrees)
Moderate slopes are where Geobag Installation starts to get tricky—you’ve got more risk of sliding, but not so much that you need heavy-duty reinforcement (yet). The lapping here needs to balance two things: keeping layers from slipping and letting water drain. Get either wrong, and you’ll have issues.
First, lap width needs to be bigger than on gentle slopes—aim for 25-30 centimeters. Why? Because the steeper angle means the top layers are pulling more on the bottom ones. A wider lap gives more surface area for the bags to grip each other, which prevents sliding. I once worked on a 30-degree slope where we used a 20-centimeter lap, and after a heavy rain, the top three layers started to shift. We had to tear them down and redo the lapping with 30 centimeters—lesson learned.
Another key trick for moderate slopes: use geotextile tape on the laps. The tape acts like a glue between layers, adding extra grip. You don’t need to cover the entire lap—just run a strip along the edge of the overlap. Make sure to press the tape down hard so it sticks to both layers. And don’t skimp on the tape quality—cheaper tapes can peel off in wet weather, which defeats the purpose. This small addition makes a huge difference in how well the layers stay together during Geobag Installation.
You also need to pay attention to the direction of the lap. On moderate slopes, always lap the top layer over the bottom layer downslope. So if the slope goes from left to right downward, the top bag’s left edge should overlap the bottom bag’s right edge. This way, water runs over the lap instead of under it. If you lap uphill, water can get trapped between layers, which rots the geobags over time. It’s a simple direction change, but it’s critical for both drainage and durability in Geobag Installation.
Finally, check the lap tension. After stacking a layer, pull gently on the top bags to see if they shift. If they move easily, your lap is too loose—add more tape or widen the overlap. If they don’t budge, you’re good to go. Moderate slopes need this extra check because even small shifts can turn into big problems later. Taking five minutes to test the lap tension saves you from costly fixes down the road.
3. Lapping Techniques for Steep Slopes (Over 35 Degrees)
Steep slopes are the hardest for Geobag Installation—one wrong move with lapping, and the whole structure can slide. On slopes over 35 degrees, gravity is working against you, so your lapping needs to be tough, secure, and reinforced. This isn’t the time to cut corners—every detail matters.
First, lap width here needs to be at least 35-40 centimeters. The steeper the slope, the wider the lap. I worked on a 45-degree slope last year, and we went with 40 centimeters—any narrower, and the engineer on site said the layers would pull apart. Wide laps give the bags more to grip onto, but you also need to combine them with mechanical fasteners. Zip ties or geobag clips work—place one every 20 centimeters along the lap. This locks the layers together so they can’t slide. Don’t just use tape here—tape alone isn’t strong enough for steep slopes. The combination of wide laps and fasteners is what makes Geobag Installation work on steep ground.
Another must for steep slopes: vertical reinforcement in the lap area. Every few layers, insert a geotextile tube or a metal rod through the lap. This goes all the way down to the base of the slope, acting like an anchor. The tube or rod keeps the layers from shifting horizontally, which is a big risk on steep slopes. We did this on a mine reclamation project with 50-degree slopes, and even after a thunderstorm with heavy runoff, the layers didn’t move an inch. It adds a little time to the Geobag Installation, but it’s non-negotiable for safety and durability.
You also need to pre-compact the lap area on steep slopes. Before adding the next layer, use a walk-behind compactor (with a rubber pad to avoid tearing the geobags) on the lap. This crushes any air gaps and makes the lap denser, so the top layer has more to grip. On gentle or moderate slopes, hand tamping works, but steep slopes need more pressure. If you skip pre-compaction, the lap can settle over time, creating gaps that let water in and weaken the structure.
Finally, use a “step” lap pattern on steep slopes. Instead of stacking layers straight up, pull each layer back by 10-15 centimeters from the one below. This creates a stepped effect, and the lap sits on the step instead of just on the slope. The step gives the lap more support, so it doesn’t have to hold the entire weight of the top layers alone. It’s like building a staircase—each step takes some of the pressure off the lap. This pattern is a bit more work, but it’s the safest way to do Geobag Installation on slopes over 35 degrees.
4. Common Mistakes to Avoid in Layer Lapping for Any Slope
No matter what slope you’re working on, there are a few common lapping mistakes that can ruin your Geobag Installation. Let’s go over them so you can steer clear.
First, don’t use uneven laps. I’ve seen guys eyeball the lap width instead of measuring, and you end up with some spots too narrow, some too wide. Uneven laps create weak points where the structure can fail. Always use a measuring tape—even if you’ve done it a hundred times. It takes two seconds and prevents big problems.
Second, don’t ignore the weather. If it’s raining while you’re doing Geobag Installation, the geobags get slippery, and the lap won’t stick as well. Wait for a dry day, or if you have to work in light rain, use extra fasteners on the laps. Wet geobags also weigh more, so the lap has to hold more weight—skimping here is a bad idea.
Third, don’t reuse old geobags for laps. If a geobag has a tear or is faded from UV exposure, don’t use it in the lap area. The lap is one of the most stressed parts of the structure, so it needs strong, undamaged bags. I’ve seen projects where they reused old bags for laps to save money, and within a year, the laps tore, and the layers shifted. It’s not worth the cost savings—use new bags for laps every time.
Fourth, don’t skip lap inspections. After stacking each layer, walk along the entire lap line and check for gaps, loose fasteners, or uneven overlap. Catching these issues early means you can fix them before adding more layers. Once you stack three or four layers on top, you can’t get to the lap anymore, so inspections are critical during Geobag Installation.
Conclusion
Geobag Installation success all comes down to the details—and layer lapping is one of the biggest details, especially when dealing with different slopes. Gentle slopes need even, staggered laps with firm compaction. Moderate slopes need wider laps, geotextile tape, and downhill-facing overlaps. Steep slopes need wide laps with fasteners, vertical reinforcement, pre-compaction, and a step pattern. And no matter the slope, avoid uneven laps, bad weather work, old bags, and skipped inspections.
The key takeaway? Adjust your lapping technique to the slope. You can’t use the same method for a 10-degree slope as a 45-degree one. By matching the lap to the slope’s needs, you’ll have a Geobag Installation that’s strong, durable, and stands up to weather, runoff, and time. Whether you’re working on a residential slope fix or a large-scale environmental project, getting the lapping right is how you make sure the job lasts for decades—not just a few years. So take the time to measure, reinforce, and inspect—your Geobag Installation will thank you.


